Showing posts with label entertain. Show all posts

Tuesday, December 3, 2013

A Book Lover's Bridal Shower


Hello! So, I think it is safe to say that I officially took the entire month of November off on the blog. I've been spending my time kicking back, relaxing and soaking up a lot of me time. So much, in fact, that I couldn't be bothered with writing any posts. Ummmm, not! Let's just say that in reality November kicked my you know what. I was barely keeping my head above water with conferences, report cards, my sister's bridal shower, etc. And, since the blog was feeling like just one more thing on my never-ending to-do list I decided it needed to go by the wayside for the time being. With that said, though, I am so happy to be back! I do love this fun little hobby of mine and the fact that some of you take the time to read it is icing on the cake. So, I may be a few days late but I want to make sure that you know that I am beyond thankful for all of you!


As for the point of this post, I am excited to share the details of my sister's bridal shower that we threw for her a couple of weeks ago. This was my first time hosting a bridal shower and it was so much fun! My sister loves to read so I decided it would be fun to do a book-themed shower. Patricia approved and that was my cue to take the idea and run with it. Below are a few of the details of her special day.


I found the invitation at this Etsy shop. I was obsessed as soon as I saw it. What a perfect look for our book-themed shower. I mounted it on scrapbook paper to make it look a little more girly.

 
I set up one table with the cake, games, and prizes. I didn't get a closeup of the games so I will just explain. We played a matching game where the guests had to match book character couples. We also played a book quote game, which I will get to in a minute, and a game called Mr. Right that you may have heard of before.  

 
I made the banner myself by punching Patricia and Jake's initials out of book pages and added some scrapbook paper hearts. I purchased the burlap at Hobby Lobby and simply glued down the paper. This was such an easy way to personalize the shower for them.
 
 
Here is a close-up of the cake that I ordered from a local baker.
 

The other game was to read the quotes and guess what book they are from. As I was making it, I realized that it was pretty difficult. So, instead of the guests guessing; Patricia had to guess and we just had to predict how many she would know. Side note: The condition of my backyard is making me sigh. I'll have grass one day, right?
 
 
I decorated one of the tables with fresh flowers, Patricia and Jake's engagement photo, candles, burlap runner, and hearts that I punched out of book pages and scrapbook paper.
 
 
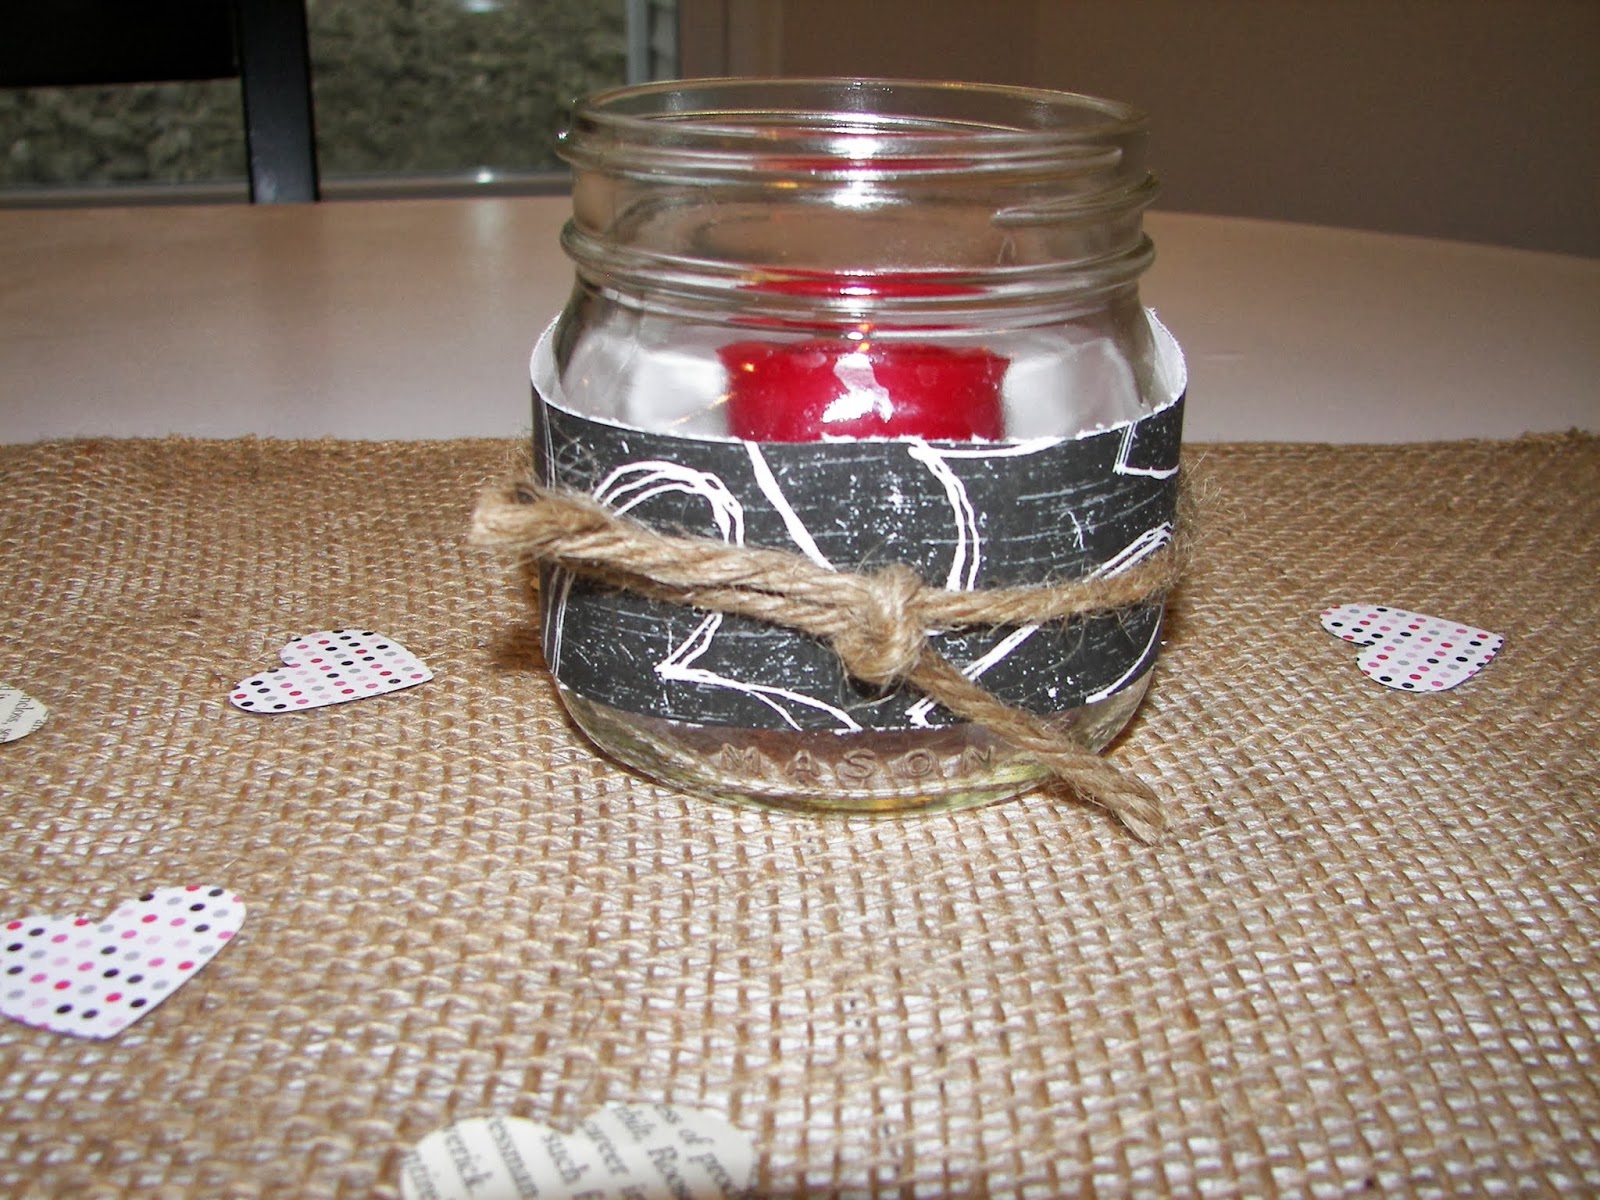
For the candle holders, I used a small mason jar that I wrapped with a piece of scrapbook paper and tied off with jute string.
 
 
Here is the guest of honor (on the left) enjoying her day with my grandma, mom, and Patricia's friend. Such a sweet picture! Oh, and in case you were wondering we served soups and salads for lunch.
 
 
I setup another table and finished it off with a stack of books, votives, hearts, and book quotes mounted on book pages. I didn't get a great picture of this table but you get the idea, right?


Finally, as a favor I made bookmarks. I found a stamp with the quote, "I love you to the moon and back." I cut cardstock to size and stamped each one and simply added a ribbon to finish it off. They were super easy to make.
 
 
I placed them on the table in the entryway table next to another stack of books.


 It was such an honor to plan and host this special day for my darling sister. I can't wait as we celebrate her wedding day in just a few short weeks!

Pin It

Wednesday, July 3, 2013

Getting Festive for the 4th of July


Nothing says summer like the 4th of July. This holiday is a big deal around here. Every year, my mother and father-in-law have a party complete with the best firework show in town (I may be biased but its true). My two cuties are all ready to celebrate. We begin our celebration the day before in case you were wondering why I have them dressed a day in advance. Don't you just love Will's expression? I have to act like a complete fool to get both of my kids to look at the camera and smile. Well, it works for Audrey and Will gives me a look like "Who are you and what did you do with my mom?"Can we talk about their shirts, please? Cute, huh? I wish I could take credit for them but I can not. A good friend snatched this idea from Pinterest and let my kids join in the fun the last time we were at their house. It's so simple! Just use fabric paint to do your child's handprint and paint some stripes (don't count my stripes b/c I wasn't keeping track). So festive!

 
And, it wouldn't be a 4th of July party with out some amazing summer dishes. I decided this year that I wanted to try some new things so I scoured my recipe pin board and this is what I came up with. I linked the recipe for each one if you want to give it a try.
 
Lemonade Cake
 
This looks and smells amazing. I haven't actually tried it, yet, other than to sample the batter so I can't speak to the tastiness. I'll have to let you know...
 
Recipe can be found at http://www.bhg.com/recipe/lemonade-cake/


Tortellini Pasta Salad

I usually always make a pasta salad but I thought this would be a nice change of pace for me. I used fresh mozzarella for the the cheese. I did test this one and it is very good. My usual dressing calls for sugar so I'm missing the sweetness but it's nice to have something different (plus, it's probably healthier).


Recipe can be found at http://www.peasandcrayons.com/2013/03/tortellini-pasta-salad.html
 
Strawberry Kabobs
 
This is by far my favorite and it was the simplest. I opted to use popsicle sticks rather than skewers to make these a little more kid-friendly and to make smaller portions. Audrey lended a hand with these bad boys. We drizzled them with melted white chocolate and used blue sprinkles to make them patriotic. They are amazing!
 
 
Recipe can be found at http://onederlandorbust.net/2013/05/13/strawberry-shortcake-kabobs/


I hope that you all have a safe and wonderful holiday! Pin It

Monday, April 15, 2013

1st Birthday Party: A Year in a Flash

 
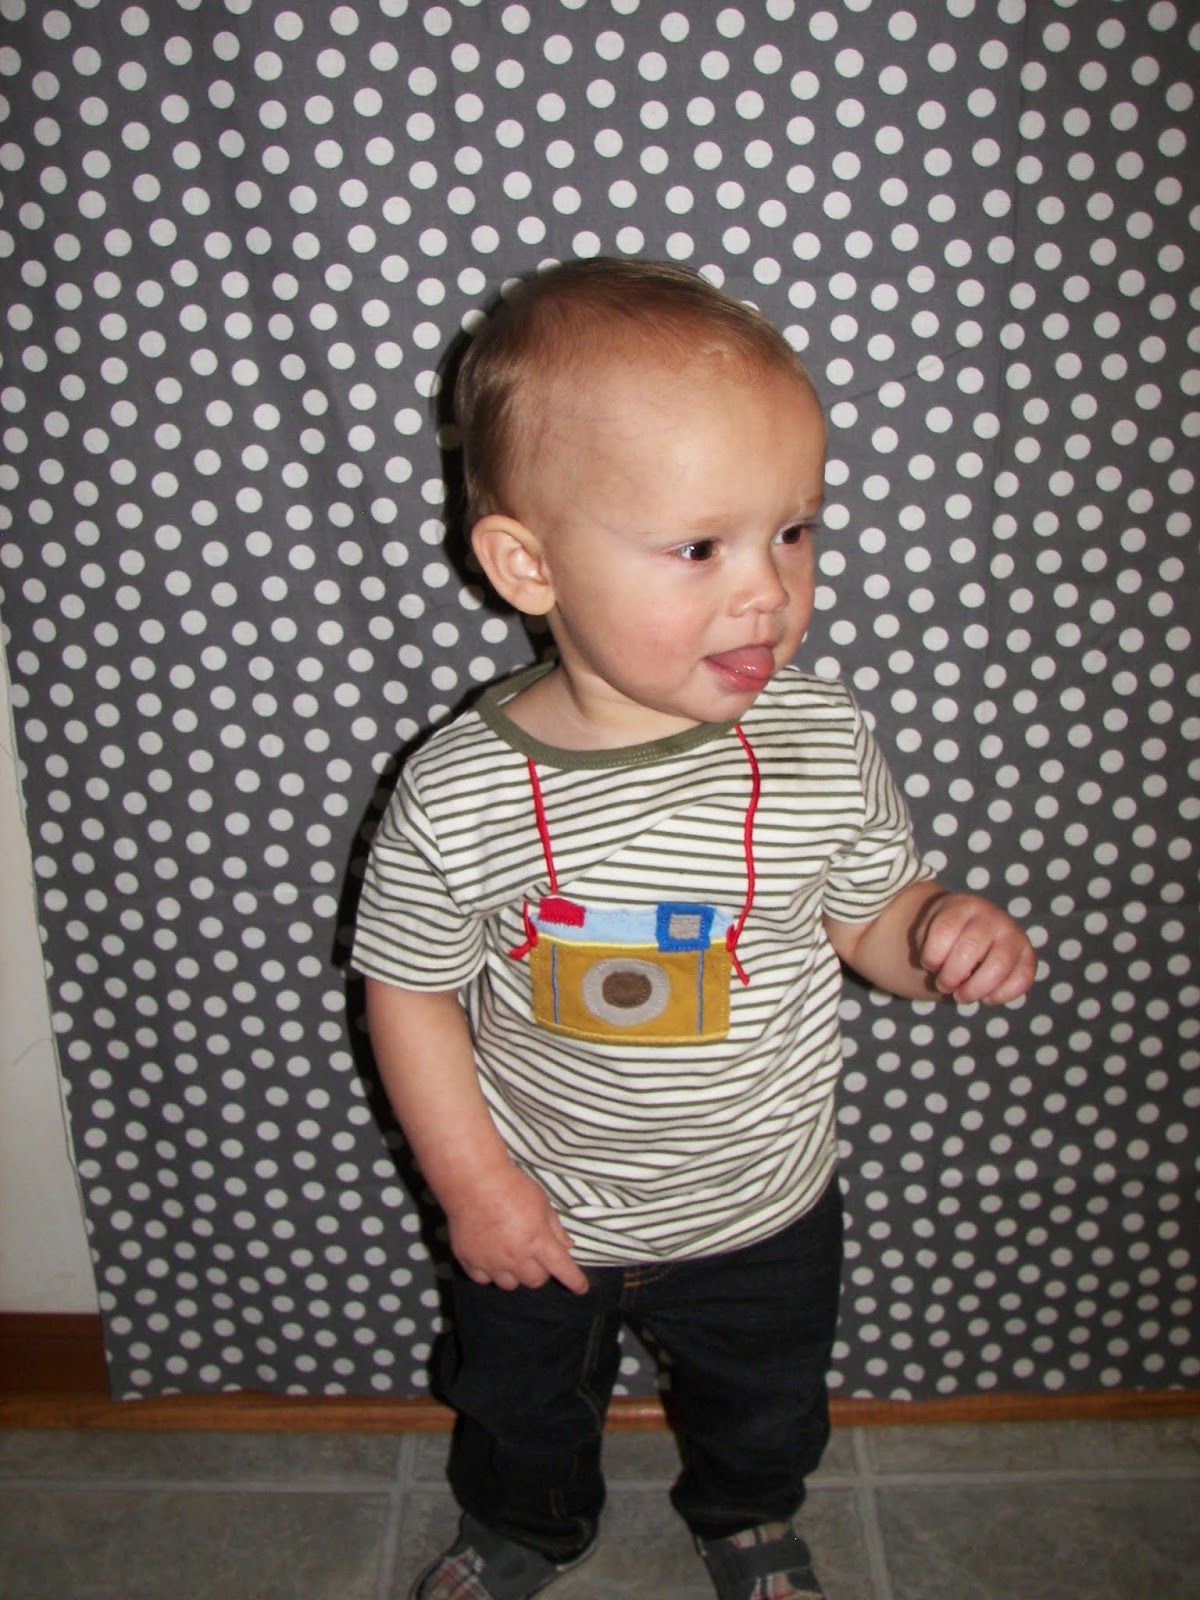
When planning Will's first birthday, I had a hard time finding a direction. It's been easy with Audrey the past few years because she has been able to request the type of party she wanted. I threw around plenty of ideas before discovering our "Year in a Flash" theme. I knew I wanted his birthday to focus on all of the memories we have made since we welcomed Will into our lives last April. Photographs (especially Instagram) played a big part in documenting the past year and I wanted those photos to play a major role. I already shared the DIY invitation that I made over on this post. I'm back today to share all of the details. Can we first talk about my adorable little man above? This picture sums up the day he had. He was so happy and excited to see his family and close friends there to celebrate his big day. How handsome is he in his little camera shirt?
 
Here is an overview of the cake table, which consisted of...
 
 
A camera cake.
 
 
A little balloon-shaped smash cake just for Will.


A memory jar. I just added some washi tape to a vase that I had on hand. Inside, I put some special mementos of his first year, such as, his birth announcement, baptismal candle, 1st month onesie, etc. I plan to keep this in Will's room so we can continue to add things to it.

 
Here is part one of Will's monthly photo banner...
 

 Part two of that same banner...

 
Favors for the guests included some one-shaped cookies with a small Instagram picture of Will attached. I totally snatched this idea from Liz (thanks chica).
 
 
Next to the cake table, I set up Will's highchair. I made the little banner out of scrapbook paper. I also made a name banner that I used to decorate the food table but somehow I forgot to get a picture of that.


On this table, I used branches to hold notecards so that our guests could write Will a special birthday message. I found blank cards at Michaels and stamped them with a camera stamp. I used blue twine to hang them from the tree.


A table covered in paper became the perfect place for the kids to eat and draw. It was, of course, not complete without a scattering of Instagram pictures.
 
 
I set up a very simple photo booth by hanging fabric. I also made some props by printing various things (hats, glasses, mustaches, lips, etc.) on cardstock and attaching them to wooden craft sticks.
 
 
Audrey had a blast posing.

 
Will did to, of course!

 
In keeping with the photo theme, each kid painted a wooden frame. These frames are from Michaels and we used acrylic craft paint to paint them. They turned out so cute! Will has some very crafty friends!


It was a great day. By far, one of my favorite memories from the day was the damage Will did to his smash cake. I think every bite made it into his mouth. At this point, we had to take it away or he would have eaten the entire thing!
 
 
I had so much fun planning my little guy's first birthday. I still can't believe he's one. This year has been a whirlwind but we have loved every moment having this super snugly, smiley, happy boy in our lives!


Pin It

Thursday, April 4, 2013

Somebody is Turning One!

Our sweet little Will turns one today! How crazy is that? How does a year fly by so quickly? We're having his party next weekend so I've been doing a little party prep this week. I thought I would bring you  a few sneak peeks of what I have planned.
 
After a lot of debating I settled on a photography theme. I've been able to capture so many amazing moments in Will's life this year so why not make all of those memories the highlight of his party? This idea literally came to me out of the blue while I was working on invites for a "storybook" party. That's right! I completely jumped ship and went another route. Call me crazy! I always make my own invitation so it wasn't much of an inconvenience to just switch things around a bit. Here is what I came up with the second time around.
 
 
I cropped off my information but the rest of the invite simply lists the usual stuff like when, where, etc. I'm sure  you get the idea. I simply create my invitations in a Word document and print them onto cardstock. I also glued the cardstock to a piece of scrapbook paper to make a border. I do love the way they turned out. I used three different colors as you can see below.
 
 
Do you like my Polaroid picture effect? I thought it tied in well with the topic of this post. I picked up the little camera stamp from Hobby Lobby. Isn't it adorable? I plan to use it to stamp favor cards and other decorations.
 
I'm also working on a photo project of Will's monthly picture. So far, I've printed the Instagram version of each month. I'm considering mounting them on scrapbook paper but I haven't decided exactly, yet. Don't you love how indecisive I am? It's a problem! What do you think? Just photo or photo with scrapbook paper?


I bought this entire pack of scrapbook paper mainly because of this one page. Isn't it perfect? If I decide not to use it with the photos, I will definitely have to incorporate it some other way.


Well, that is all I have for ya today. It makes me realize how much more I still need to get done. Luckily, I do have Will's outfit all picked out. I found this adorable shirt while flipping through a Mini Boden catalogue. I knew that I (I mean Will) had to have it!
 
image via www.miniboden.com
 
 I will be sure to fill you in on more of the details later on. Today, though, I'll be having fun celebrating our wonderful little guy. He is so amazing and I'm so proud to be his mom. I have loved every minute of our adventures with him. It has been incredible watching the relationship between he and Audrey grow. They are pretty much inseparable.
 
Happy 1st Birthday to our sweet little boy!


Pin It

Tuesday, February 26, 2013

Yellow and Gray Baby Shower


My sweet friend and colleague at school is expecting her first baby next month. This past week our Kindergarten team threw her a baby shower. It was so much fun to plan and I thought I'd share a few of the adorable details that our fabulous team came up with. Alyssa is using yellow and gray in her nursery so we decided to also use that as a color scheme for her shower. Let's take a look shall we...

These centerpieces were by far one of my favorite things and we were able to make them so easily. The yellow chevron paper is simply wrapping paper that we scored at TJ Maxx. We then put a piece of scrapbook paper around a mason jar with a wire bow. You can see the wire better in the above picture. We gathered some twigs (I'm obsessed with decorating with twigs) and put them into the jars. Here are a few shots of the centerpieces. I just couldn't stop taking pictures! I was using my phone so I'm sorry they are a little blurry.


The papers around the jars were a little game that we had available to play.We asked the guests to list songs that had the word, BABY!
 
 
We also decorated with this cute banner that we made out of scrapbook paper and hung with twine. I know it's hard to see but look at those adorable little footprints!!!
 
 
We wanted the guests to get a little crafty by decorating onsies for Alyssa's little bundle of joy. We hung varying sizes on a clothesline. We provided fabric scraps, paper templates, and iron-on "Wonder Under" to iron the fabric to the onsies. I wish I would have taken pictures of the finished products. They turned out super cute!


Finally, we made this advice book out of paint chips. We simply punched a hole in the deck and put a metal ring through it. We embellished the front with scrapbook paper and a title. We had everyone write Alyssa  and  her husband a message or advice as they become new parents.


I love working with such creative and wonderful people. It was a great shower. Congratulations, Alyssa and Andy! Can't wait to meet your little guy! 

Pin It
Related Posts Plugin for WordPress, Blogger...