Showing posts with label family. Show all posts

Tuesday, March 4, 2014

Color Blocking in the Playroom


As I have mentioned before, one project always leads to another one around here. One of the side effects of organizing and decorating Audrey's bedroom, was a pile of books without a home. Since our home library is still non-existent and probably will be for quite some time, I decided I needed to make room for them in our playroom. And, it was a really good motivator to reorganize and rotate some things around. This is how the shelves looked the first time I organized this room in case you need to jog your memory.


To solve the book issue, I decided to dedicate an entire row of shelves to all books. I debated on how to organize them for awhile but nothing was working. There were too many different types and categories to do it that way. Then, I remembered a "Home by Novagratz" episode where Bob and Courtney organized a client's books by color and I knew it would be the perfect solution. I am in love with it! We were short on green books so I placed Will's Charley Harper nesting blocks in that open space. It worked out exactly how I had hoped! If nothing else, it will help Will learn his colors during clean up time.
 
 
But, let's talk about what else I did to get this space working more efficiently. I picked up a couple more white boxes for craft supplies because the two that we had  began to overflow (go figure). We now have a box for paper, one for my craft supplies (hot glue gun, modge podge, paper cutter, etc.) and one for the kid's crafts. There is also an empty one but don't worry, I have a plan for it. I moved all the woven baskets to the bottom for toys and coloring books. Here, let me just open them up so you can see...
 
 
I also needed a solution to our art supplies since we are now using the "art cart" as Audrey's bedside table. I put the containers of crayons, colored pencils, and markers in this wire basket from Anthropologie. It was an awesome sale room find. It actually came as a set of 3 so you may see some of its friends popping up around our house. I like that we can just take the entire basket off the shelf when the kids want to color.


I guess I should show you our other shelf, too, since I also reorganized over there. Don't mind the diaper-wearing, iPad-playing photo bomber. He's just doing his thang so mommy can take a picture of the playroom without everything all over the floor. Please don't judge me.


Anyways, the white shelves now hold a wooden train set...

 
 Items for kitchen play...


Puzzles...


And, a new wonder basket. My thought is that we can change things in this basket based on Audrey's (and eventually Will's) interests. Audrey is already requesting a bird-watching basket and what can I say? I aim to please.


An abacus and pattern blocks are also hanging out on top of the shelves. My husband is a math teacher after all so it only seems fitting to encourage math play. Am I right?


Finally, I filled this basket with puppets and stuffed animals. Will has been cracking me up, lately, with these puppets. He loves to put them on and try out his best animal sounds.


It is always so refreshing to walk into a newly organized space. So, what have been organizing lately? I have several other spaces that need attention, too. It's a good thing that spring break is on it's way. I can't believe that I'm typing those words but it makes me giddy just thinking about warm weather and the end to the longest winter ever!
Pin It

Tuesday, January 14, 2014

Need a Gift for Your Valentine?

 
I interrupt Audrey's room makeover for a quick Valentine's Day gift idea for those of you who like to get a jump on things or order something special. Going to my cousin's beautiful wedding this past weekend totally brought me back to our own weddng, which reminded me of our amazing honeymoon in Kuaui, Hawaii, which then had me thinking about the gift that I gave Aaron for our eighth anniversary back in October. Hello, vintage map gorgeousness!


I found this print while browsing Etsy and I love the way it looks hanging in our home. The Etsy seller is Southern Slang and from what I understand they can do any location. I framed ours in a rustic frame from HomeGoods and hung it in the hallway just around the corner from our living room.


Now, we can walk by it everyday and go back to that amazing week in paradise. I mean, come on, wouldn't you just love to escape to this place right this very moment?


Pin It

Thursday, January 2, 2014

Saying Goodbye to 2013

Hello, everyone! I hope that you all had an amazing holiday season and I wish you all a very Happy New Year! I really cannot believe that it is already 2014. I feel like the past couple months and the holiday season in general came and went in the blink of an eye. I thought I would stop by to share a few of our special holiday moments with you as we say goodbye to another wonderful year. It was truly a memorable one as we moved into our dream home, started new jobs, and celebrated another year of wonderful milestones with our little ones. We are so thankful for all of it and we are so excited to see all that lies ahead.

I'm definitely doing a little backtracking here. This is compilation of a couple different posts I never got to over break starting with how we decorated for the holidays. We kept the holiday decor rather simple for our first Christmas in the new house. We stuck with our tradition of getting a real tree. I once again lost the debate of white vs. colored lights with Aaron and Audrey. Oh well, maybe next year I will convince them that white is the way to go.


I did, however, make a fun little garland for the mantle out of some white snowflake lights that I found on clearance at Target along with some fabric scraps. I love it so much that it will probably be considered "winter" decor instead of just Christmas decor so I can keep it around for a few more weeks.


A few simple changes to the entryway table helped complete our holiday look. I told you it was simple!


For our gifts this year I used my absolute favorite polka-dot craft paper from Target, some black plaid paper from Marshalls, and red and white chevron from Hobby Lobby. We topped our gifts off this year with either green pom-pom garland, simple strings of yarn,  or giant poms that we made ourselves.


Now, sit back, and enjoy some of our favorite pictures of Audrey and Will. They really do make the holidays so exciting. I love the joy they bring to our lives.


Aren't they the sweetest? I know I have to say that but they really are the most amazing people. Doesn't Audrey look so grown up? And, Will has been seriously cracking up with his animated conversations. It was a truly special Christmas and I hope you and your family made just as many wonderful memories.
 
As for the new year, I have a list of goals (dare I say resolutions) a mile long. One of those goals is to rededicate myself to unfinished projects around the house and to the blog, of course. I do love writing and sharing and I want to get back to doing that more consistently. How about you? What are some of your favorite holiday memories? And, what are some of your goals for 2014?
 
 
Pin It

Tuesday, December 3, 2013

A Book Lover's Bridal Shower


Hello! So, I think it is safe to say that I officially took the entire month of November off on the blog. I've been spending my time kicking back, relaxing and soaking up a lot of me time. So much, in fact, that I couldn't be bothered with writing any posts. Ummmm, not! Let's just say that in reality November kicked my you know what. I was barely keeping my head above water with conferences, report cards, my sister's bridal shower, etc. And, since the blog was feeling like just one more thing on my never-ending to-do list I decided it needed to go by the wayside for the time being. With that said, though, I am so happy to be back! I do love this fun little hobby of mine and the fact that some of you take the time to read it is icing on the cake. So, I may be a few days late but I want to make sure that you know that I am beyond thankful for all of you!


As for the point of this post, I am excited to share the details of my sister's bridal shower that we threw for her a couple of weeks ago. This was my first time hosting a bridal shower and it was so much fun! My sister loves to read so I decided it would be fun to do a book-themed shower. Patricia approved and that was my cue to take the idea and run with it. Below are a few of the details of her special day.


I found the invitation at this Etsy shop. I was obsessed as soon as I saw it. What a perfect look for our book-themed shower. I mounted it on scrapbook paper to make it look a little more girly.

 
I set up one table with the cake, games, and prizes. I didn't get a closeup of the games so I will just explain. We played a matching game where the guests had to match book character couples. We also played a book quote game, which I will get to in a minute, and a game called Mr. Right that you may have heard of before.  

 
I made the banner myself by punching Patricia and Jake's initials out of book pages and added some scrapbook paper hearts. I purchased the burlap at Hobby Lobby and simply glued down the paper. This was such an easy way to personalize the shower for them.
 
 
Here is a close-up of the cake that I ordered from a local baker.
 

The other game was to read the quotes and guess what book they are from. As I was making it, I realized that it was pretty difficult. So, instead of the guests guessing; Patricia had to guess and we just had to predict how many she would know. Side note: The condition of my backyard is making me sigh. I'll have grass one day, right?
 
 
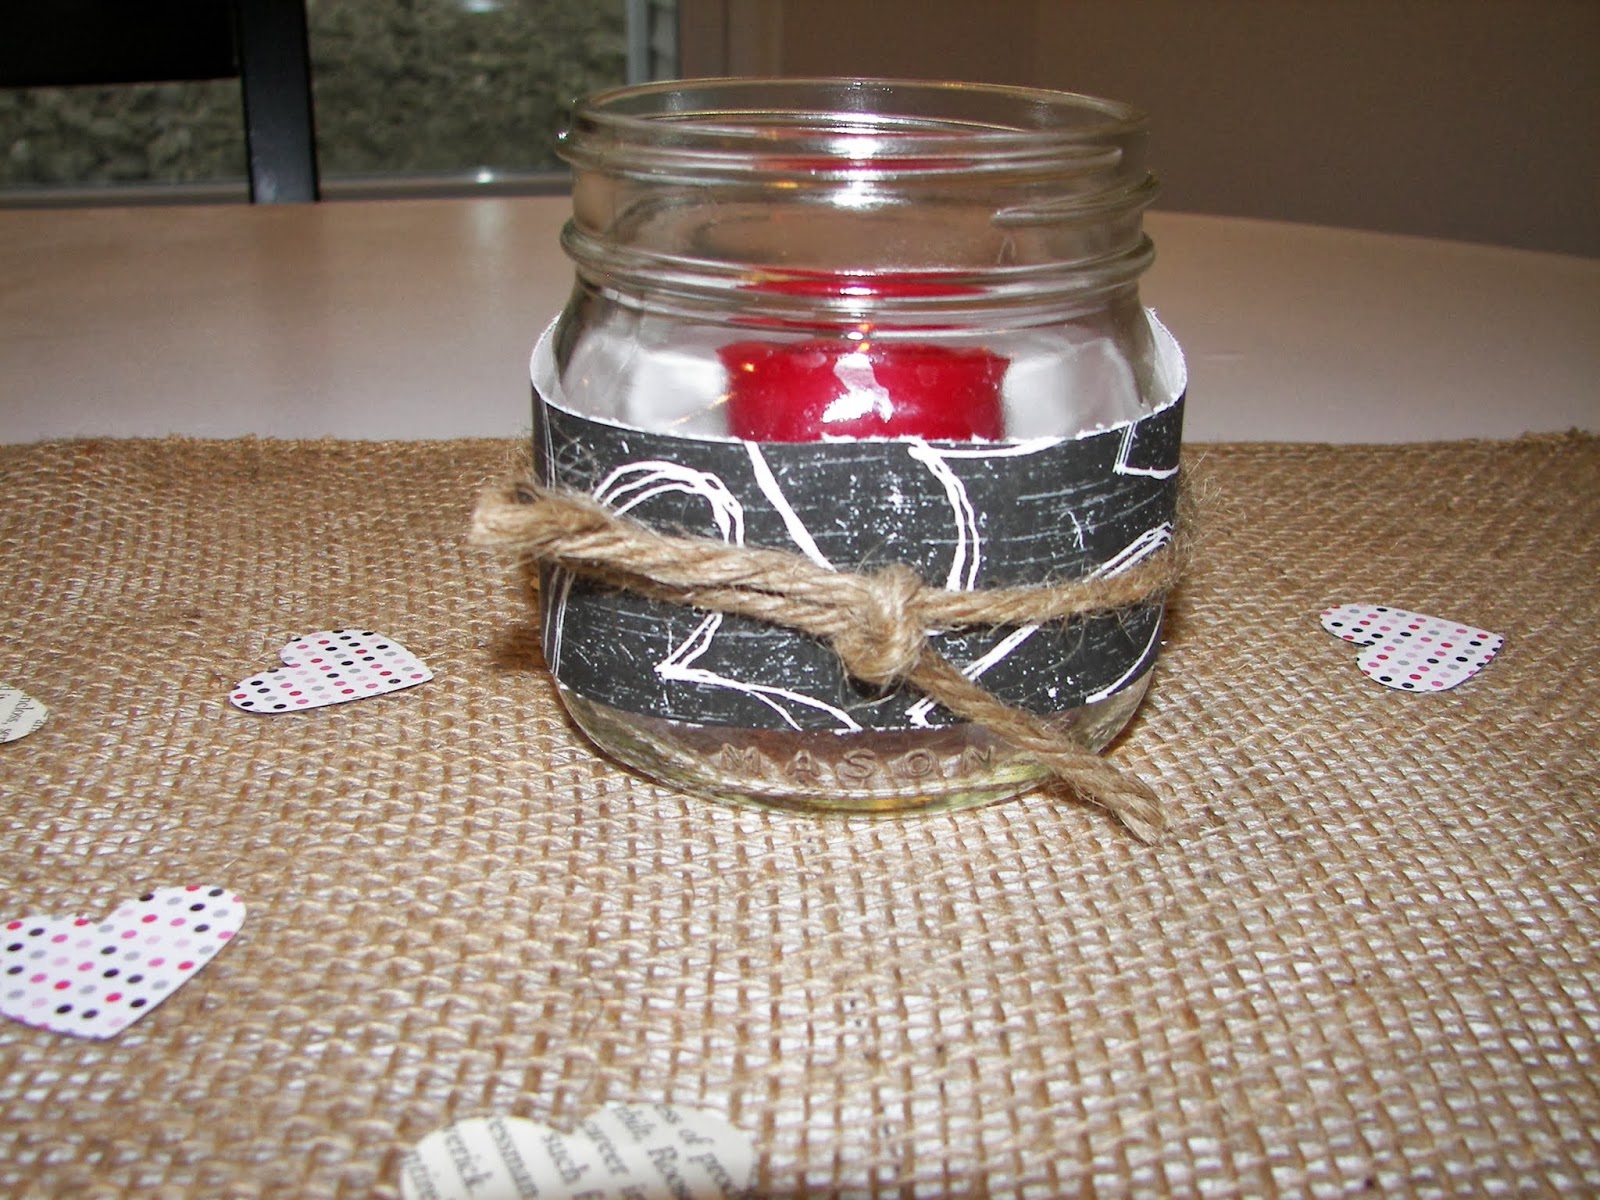
I decorated one of the tables with fresh flowers, Patricia and Jake's engagement photo, candles, burlap runner, and hearts that I punched out of book pages and scrapbook paper.
 
 
For the candle holders, I used a small mason jar that I wrapped with a piece of scrapbook paper and tied off with jute string.
 
 
Here is the guest of honor (on the left) enjoying her day with my grandma, mom, and Patricia's friend. Such a sweet picture! Oh, and in case you were wondering we served soups and salads for lunch.
 
 
I setup another table and finished it off with a stack of books, votives, hearts, and book quotes mounted on book pages. I didn't get a great picture of this table but you get the idea, right?


Finally, as a favor I made bookmarks. I found a stamp with the quote, "I love you to the moon and back." I cut cardstock to size and stamped each one and simply added a ribbon to finish it off. They were super easy to make.
 
 
I placed them on the table in the entryway table next to another stack of books.


 It was such an honor to plan and host this special day for my darling sister. I can't wait as we celebrate her wedding day in just a few short weeks!

Pin It
Related Posts Plugin for WordPress, Blogger...