Tuesday, April 23, 2013

Living Room Take 2


Living Room Take 2
I'm a girl who can't make a decision. I don't know what it is about me that has such a hard time committing to things but I really do. This makes shopping for home decor items a little tricky especially if it is a big ticket item. Thankfully, I have a husband who has lately loved putting in his two cents. I did a mood board awhile ago for our the living room in our new house that looked like this...

Living Room
 
The look wasn't bad but since I've lived with these ideas since October when I first wrote this post (crazy town that it's been that long); I've decided I wanted to switch things around. I had considered switching out the natural rug for a blue one until Aaron sweetly reminded me that I have a sick obsession with the color blue. That's when we (Aaron would say he) decided a fun color like the coral rug would be a great choice. It brightens up the room for sure. I also love the geometric, Ikat pattern.

As for the couch, I loved the CB2 one from my original look but it was a little more than we wanted to spend. Also, the light gray worried me with having two little ones climbing all over it. I found the charcoal one that has the same basic shape. It will most likely be the one that comes home with us.

In keeping with the kid-friendly vibe, I would love a plush ottoman in place of a coffee table. We have a coffee table now and poor Will has dealt with one too many bumps on the head. Time to give him a softer place to land. I am digging the idea of a patterned ottoman that will complement the rug.

Oh, and don't worry. I still plan to get my blue in there by mixing navy and turquoise. The blue chair that I actually have in both of my looks is to die for. It is also crazy expensive at $1300. It will serve as inspiration, though, as I shop around.

Here's hoping that I don't change my mind once the room is actually done. I need to learn to go with my gut and and stop second-guessing myself.

The next time I show you my living room, it will be the actual living room. Yay! We started the process of moving in this past weekend. So, get ready for lots and lots of upcoming posts!


Pin It

Thursday, April 18, 2013

Move Over Floral Print

Quite awhile back I turned an outdoor side table into a fun bedside table for Audrey. All it took was a little pink spray paint and some fabric. You can read more about that here. So, for several months the table has been hanging out in our playroom looking like this (it will be an actual bedside table in Audrey's new bedroom. There just hasn't been any space in her current room that she shares with her little brother):


And, here is a better look at the fabric that I used the first go around.


It's not that I didn't like the way it looked but I always knew that I might switch out the fabric if the right stuff ever crossed my path.

Well, the other day we were doing a little browsing at Hobby Lobby when we happened upon this fun, graphic fabric. All I could say was, "Hello, gorgeous!"


I bought a yard and wasted no time recovering Audrey's table with it. It wasn't hard at all. I had used spray adhesive around the bottom of the table to the hold the fabric in place so it was easy to peel off and replace with the new stuff. Here is her table now!


It's actually pretty amazing what I find at Hobby Lobby. I love that place! I may need to use this fabric again like in the form of a throw pillow or floor cushion in her room. Or, is that too much of the same fabric? I just can't get enough of it!

P.S. Audrey kinda digs it, too, especially once I convinced her that gray and pink are totally chic together!


Pin It

Monday, April 15, 2013

1st Birthday Party: A Year in a Flash

 
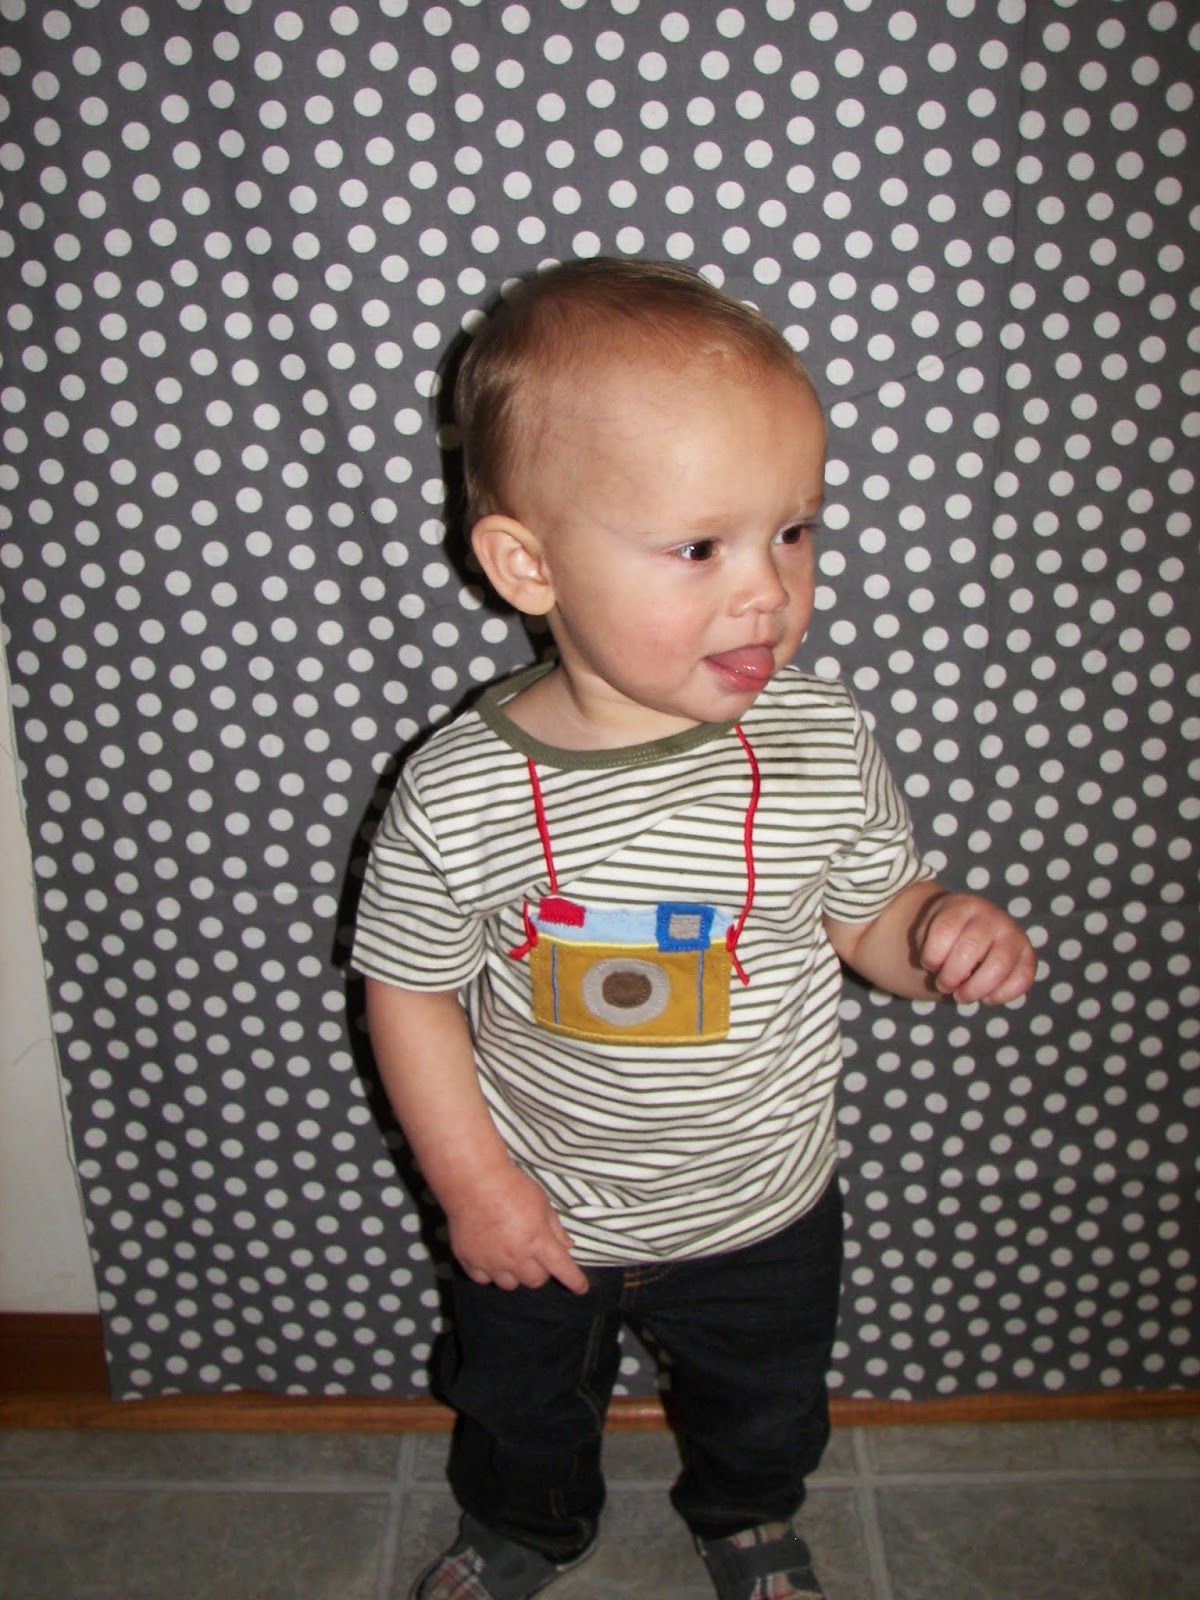
When planning Will's first birthday, I had a hard time finding a direction. It's been easy with Audrey the past few years because she has been able to request the type of party she wanted. I threw around plenty of ideas before discovering our "Year in a Flash" theme. I knew I wanted his birthday to focus on all of the memories we have made since we welcomed Will into our lives last April. Photographs (especially Instagram) played a big part in documenting the past year and I wanted those photos to play a major role. I already shared the DIY invitation that I made over on this post. I'm back today to share all of the details. Can we first talk about my adorable little man above? This picture sums up the day he had. He was so happy and excited to see his family and close friends there to celebrate his big day. How handsome is he in his little camera shirt?
 
Here is an overview of the cake table, which consisted of...
 
 
A camera cake.
 
 
A little balloon-shaped smash cake just for Will.


A memory jar. I just added some washi tape to a vase that I had on hand. Inside, I put some special mementos of his first year, such as, his birth announcement, baptismal candle, 1st month onesie, etc. I plan to keep this in Will's room so we can continue to add things to it.

 
Here is part one of Will's monthly photo banner...
 

 Part two of that same banner...

 
Favors for the guests included some one-shaped cookies with a small Instagram picture of Will attached. I totally snatched this idea from Liz (thanks chica).
 
 
Next to the cake table, I set up Will's highchair. I made the little banner out of scrapbook paper. I also made a name banner that I used to decorate the food table but somehow I forgot to get a picture of that.


On this table, I used branches to hold notecards so that our guests could write Will a special birthday message. I found blank cards at Michaels and stamped them with a camera stamp. I used blue twine to hang them from the tree.


A table covered in paper became the perfect place for the kids to eat and draw. It was, of course, not complete without a scattering of Instagram pictures.
 
 
I set up a very simple photo booth by hanging fabric. I also made some props by printing various things (hats, glasses, mustaches, lips, etc.) on cardstock and attaching them to wooden craft sticks.
 
 
Audrey had a blast posing.

 
Will did to, of course!

 
In keeping with the photo theme, each kid painted a wooden frame. These frames are from Michaels and we used acrylic craft paint to paint them. They turned out so cute! Will has some very crafty friends!


It was a great day. By far, one of my favorite memories from the day was the damage Will did to his smash cake. I think every bite made it into his mouth. At this point, we had to take it away or he would have eaten the entire thing!
 
 
I had so much fun planning my little guy's first birthday. I still can't believe he's one. This year has been a whirlwind but we have loved every moment having this super snugly, smiley, happy boy in our lives!


Pin It

Thursday, April 11, 2013

Teeny, Tiny Baby Steps

There have been a lot of these happening around here, lately. Most of them by Will who decided as soon as he turned one that he needed to start walking in full force. I took a few baby steps of my own this week in the new house. Where do you start when decorating an entire house from scratch? My answer -- a bathroom! It's small and easily managed.

Audrey and Will received a few items for their shared bathroom for Christmas that I went ahead and added to their space. All of these items are from Urban Outfitters. This happy rug has the perfect colors in it. It incorporates the wall color of the bathroom, as well as, the colors of both of their bedrooms, which if you can't tell are adjoining. since their bathroom is a Jack 'n Jill style. I think Will approves of his new rug! He kept walking across it and then crawling back.


Here is a closeup for ya. Just look at those little feet!

 
For the shower curtain, I chose I neutral gray to balance out all of the bright colors but went with a bold pattern.
 
 
I think my favorite piece, though, has to be this adorable ceramic elephant. It's actually a toothbrush holder. I can't stand how cute it is perched on their vanity.


That's it, though. Just a few small baby steps in the process of making a house a home. I don't feel like there is too much more to do in this room. I want to find some fun towels and hang some art but I like the idea of it being minimal and clean. Thanks for stopping by!


Pin It

Tuesday, April 9, 2013

Six Cans of White Spray Paint Later...

If you live in my area and are trying to buy some Rustoleum White Gloss spray paint, beware. I may have purchased every available can. I don't claim to be a DIY expert. NOT EVEN CLOSE. I'm just a girl with the drive to try and who isn't afraid of learning as I go. When it comes to painting wood furniture, I thought I knew a thing or two. Turns out, I may only be one step above clueless.

I started this project about three weeks ago when we had a very short-lived burst of warm weather here in Ohio and I decided it would be a good day to spray paint our kitchen table. Here's a before pic for ya. It's a nice solid piece. This table was in Aaron's home growing up and we have had it for years so I loved the idea of keeping it but making it new again.


I was nervous about painting it because the top is this crazy laminate stuff. I didn't even try to sand it. I just primed it with some Zinsser, let it dry, and began applying several thin coats of white Rustoleum spray paint. I began with just the top thinking that I might go for a two-tone look like you see here.


The white just looked so clean and fresh, though, and the legs were just begging to get the same treatment.

Then...we had a snowstorm and it turned freezing cold for several days. Even in the garage of the new place I was afraid it was too cold to paint but I'm impatient and I did it anyways. I sprayed the legs and did another coat on the top in below 30 degree weather. I thought it would be fine. After a couple days drying, I brought it into the house and all I could see were streaks! Now, I don't know exactly what caused this but I have a feeling it had something to do with the cold weather and my impatience with the drying process. Ugh!


So, over Spring Break I carried this bad boy back out to the garage, sanded it down and started from the beginning (just the top, the legs were fine). I also decided to add a topcoat of polyurethane to protect the finish. I knew this was a must when one dropped toy chipped the white paint down to the brown wood. Really?

I was able to paint again and it went much better. I can be a perfectionist so I can't say it's perfect but it is a huge improvement. But then, I ran into some issues with the poly. I tried both the spray kind and the brush on kind. It went a little like this...spray poly, lightly sand (like the directions say), hate it, sand, reprime, repaint, go to store, buy brush-on poly, apply, hate it, sand, try again, etc. The brush on kind is better in my eyes because it left a glossier finish, however, no matter what I did I still see brush marks. It might just be that I'm looking too hard, though.

Without further boring you with my trials and tribulations, here is our new table in our new kitchen nook. It suddenly looks so small! It is expandable so I may add one of the inserts.

 
I will be on the lookout for the perfect chairs to go with it. The chairs you saw in the above picture may be way too far gone to do anything about them. Plus, I'm thinking I want something with an industrial vibe. We'll see. It's all about the baby steps, baby!


The next time a take on a big job like this, I may consider using a foam roller. Considering how much time, effort, and cans it took to spray paint this I wonder if going the roller route might make more sense especially when doing a flat surface like a table top.

As for the house, we are not officially moving in but since the inside is done I will be slowly putting together some of the rooms. I can't wait to share all of it with you step-by-step. Have a great Tuesday!


Pin It

Thursday, April 4, 2013

Somebody is Turning One!

Our sweet little Will turns one today! How crazy is that? How does a year fly by so quickly? We're having his party next weekend so I've been doing a little party prep this week. I thought I would bring you  a few sneak peeks of what I have planned.
 
After a lot of debating I settled on a photography theme. I've been able to capture so many amazing moments in Will's life this year so why not make all of those memories the highlight of his party? This idea literally came to me out of the blue while I was working on invites for a "storybook" party. That's right! I completely jumped ship and went another route. Call me crazy! I always make my own invitation so it wasn't much of an inconvenience to just switch things around a bit. Here is what I came up with the second time around.
 
 
I cropped off my information but the rest of the invite simply lists the usual stuff like when, where, etc. I'm sure  you get the idea. I simply create my invitations in a Word document and print them onto cardstock. I also glued the cardstock to a piece of scrapbook paper to make a border. I do love the way they turned out. I used three different colors as you can see below.
 
 
Do you like my Polaroid picture effect? I thought it tied in well with the topic of this post. I picked up the little camera stamp from Hobby Lobby. Isn't it adorable? I plan to use it to stamp favor cards and other decorations.
 
I'm also working on a photo project of Will's monthly picture. So far, I've printed the Instagram version of each month. I'm considering mounting them on scrapbook paper but I haven't decided exactly, yet. Don't you love how indecisive I am? It's a problem! What do you think? Just photo or photo with scrapbook paper?


I bought this entire pack of scrapbook paper mainly because of this one page. Isn't it perfect? If I decide not to use it with the photos, I will definitely have to incorporate it some other way.


Well, that is all I have for ya today. It makes me realize how much more I still need to get done. Luckily, I do have Will's outfit all picked out. I found this adorable shirt while flipping through a Mini Boden catalogue. I knew that I (I mean Will) had to have it!
 
image via www.miniboden.com
 
 I will be sure to fill you in on more of the details later on. Today, though, I'll be having fun celebrating our wonderful little guy. He is so amazing and I'm so proud to be his mom. I have loved every minute of our adventures with him. It has been incredible watching the relationship between he and Audrey grow. They are pretty much inseparable.
 
Happy 1st Birthday to our sweet little boy!


Pin It

Tuesday, April 2, 2013

Our New Front Door


Finishing our front door has been one of a handful of items that still need to be completed on the new house. For the longest time, we thought we would stain the door to match the hardwood floors. Then, I had a change of heart. I worried that staining the door would be too much brown and too matchy, matchy with the hardwood floors. It also felt rather boring to pair a brown door with our neutral tan exterior colors. I thought about picking out a punchy, bright color but it really wasn't Aaron's thing. So, instead we chose a nice charcoal gray color. I love the way it turned out. The color is Knight's Armour by Olympic from Lowes. It provides just enough contrast to the siding color and it ties in well with the color of the roof.


The interior side of the door will be the same color. Unfortunately, when the painters came they only did one side. And, you wonder why our house is taking so long? One day of work; one side of a door painted. Really? I will stop there before I say what I'm really feeling. To get a sneak peak of what the color will look like on the inside, I opened the door and snapped a few pictures. I think it will be perfect.  It adds a little drama and sophistication to the space.


Enough about the inside, though, let's step back outside shall we?


I have some plans in the works for how to incorporate those bright colors that I'm craving. In building a house we didn't want to pick too many finishes that we might regret later once our tastes change. So, we kept everything very neutral. And, now the fun part will be going through every space and making them fun with color. Here's some inspiring pics that may find their where on to my to-do list.
 
This green picnic table is so adorable. For some reason I'm digging lime green, lately. We have some space to the right of the walkway that would be a prefect place for a little table.
 
 
Pinned Image
 
Or, how about some brightly painted planters?
 
MilkWeed: Spring Greens in interior design  Category
image via Design Milk
  
I also want to adorn the front door with a wreath of some sort. I love all of these for the Spring and Summer months.
 
      
                           cute spring/summer wreath by madelinem
image via SAS Interiors
                   
                             Spring or summer wreath by madelinem
image via Indulgy

 
image via SAS Interiors


All of these bright colors would look amazing against our neutral palette. Plus, they have me dreaming of warmer days; which I hope will be here sooner than later.
 
 
Pin It
Related Posts Plugin for WordPress, Blogger...