Wednesday, January 29, 2014

Book Pages + Washi Tape = Art that Rocks


 If there is one thing that gets in the way of me cranking out projects around here, motivation takes the cake. Especially, when (as I alluded to in my last post) I have to run errands in freezing cold weather to get things done. Ugh! I showed you bits and pieces of Audrey's room on Tuesday but what I didn't show you is the other side of the room filled with projects left undone. Imagine frames to be filled and hung, books to be organized, along with several other odds and ends that I've been collecting for her room makeover. What I've needed is a major kick in the pants to get things done. So, I have to give a major shout out to Mandi of Vintage Revivals for dreaming up the Rock What Ya Got party! You can find all of the details here but basically she is asking us to to create a new project that has been lingering on our to-do list and taking up real estate in our garages, basements, closets, and in my case Audrey's floor. It sounded like fun so I decided to play along.

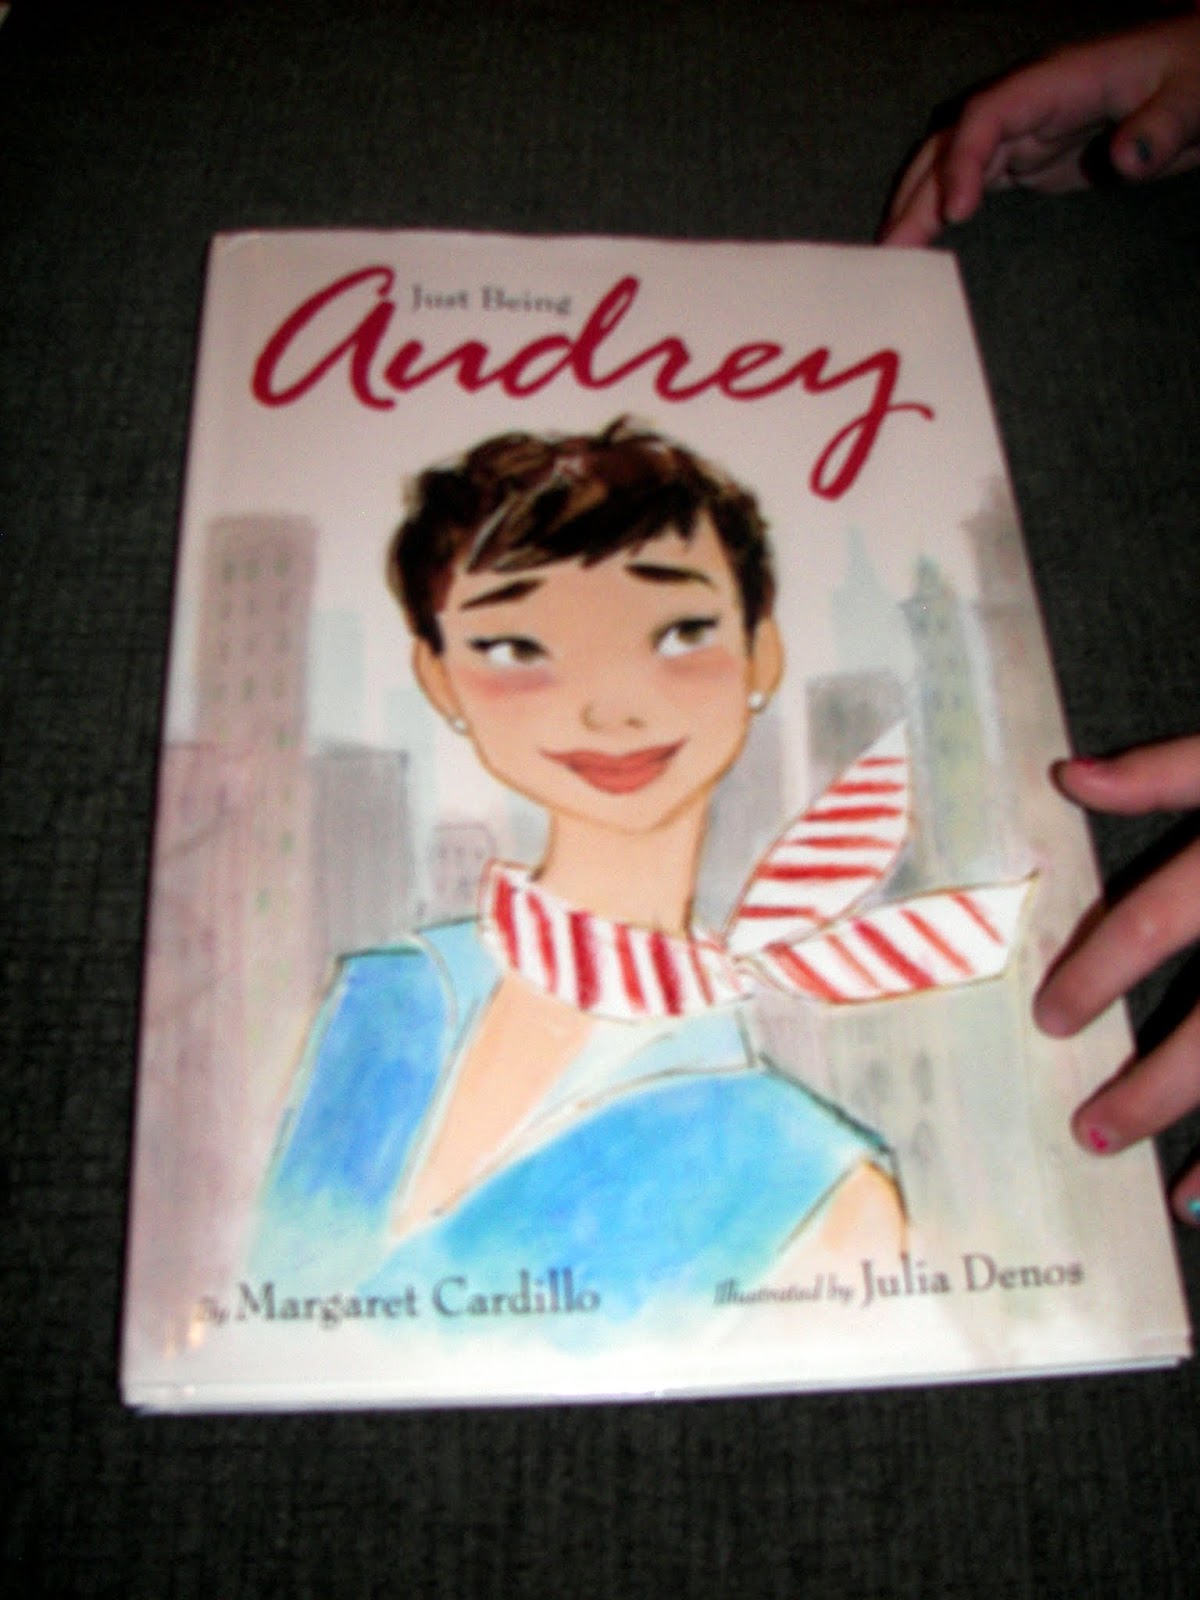
A major item on my to-do list is hanging art in Audrey's room. For Christmas, we got her this super sweet book about Audrey Hepburn called Just Being Audrey by Margaret Cardillo.

 
For the record, Audrey isn't named after Audrey Hepburn. We just loved the name and I also happen to love Audrey Hepburn. We can't get enough of  this book. It's a great story about Hepburn's life with the theme of embracing who we are. I adore the illustrations by Julia Denos, which gets me to the project at hand. I printed out some of our favorite illustrations from the book with plans to frame them.


Since, my much-needed Ikea trip (for frames etc.) still hasn't happened I decided to think outside of the box in order to get this project checked off of my to-do list.

Hello, washi tape frames!!! I have seen some inspiring images of these frames floating around the blog world lately . So, I used some tape that I recently picked up at Hobby Lobby and got to work. I trimmed the photos, played around with an arrangement on the floor, but then just started hanging and taping.

 
I probably should have used a level and a ruler but I wasn't in the mood so I just eyeballed it. They aren't perfect but I think that is the beauty of hanging art with washi tape. They are imperfect but fun and whimsical and definitely help jazz up Audrey's white walls.


So, I hope you enjoyed this crafty little project. Be sure to check out Vintage Revivals to see what other people are "rockin" this month and, as always, thanks for visiting Inspired Adventures!

Pin It

Tuesday, January 28, 2014

New Bedding and Bedside Table

Several weeks ago, I started playing around with the furniture arrangement in Audrey's room. I decided to take off the headboard that was attached to her bed and pulled it away from the wall. Here is a picture of her bed before.


I wanted her bed to have more of a daybed feel which is one reason I made the decision to nix the headboard. I also felt like it was a massive, space-hogging, clutter-collector that was not functioning for her at all. So with a few turns of the screwdriver off it came and down to the basement it went.


Audrey got some new bedding for her birthday and we picked up a couple of fun throw pillows from Ikea to give her a cozy place to hang out even when she's not sleeping. Her new bedspread was a Target online find. The brighter colors are definitely more Audrey as opposed to her old pastel pink comforter.


As for her bedside table, I just tucked her pink table into the small space beside her bed. But, it just seemed to disappear up against her pink wall. So, a little switcheroo was in order.


I "borrowed" our art cart that used to be in the playroom. Actually, it has been hanging out in the pantry. As much as I love the idea of having an art cart in the playroom, Will just isn't quite ready for it. So, rather than keep the adorable blue Ikea cart hidden away it has now become the perfect bedside table for Audrey. I threw a few books on it along with her clock and a picture of us. It could use a little more "styling" but that will come in time.


As for the pink table, I just put it against the opposite where there used to be a wicker bookshelf. The bookshelf also made the trek to the basement. Now, we need to figure out what to do with all the books that used to be stored there. Isn't it funny how one project always leads to another?


Her room is definitely slow-moving. I always struggle with the middle. I have everything planned out in my head but I struggle with execution. For one thing, I need to run errands to pick up a few things and I have not been able to force my lazy self to go out in this negative degree weather. Ugh! So, bear with me. It will get done...one of these days.


Pin It

Thursday, January 16, 2014

For Frequent Wardrobe Changes

 
I am pretty sure that on any given day, Audrey probably wears about four different outfits. I love that my girl has a huge imagination and feels it necessary to "dress the part" while playing in her world of princesses, dancers, and pop stars. But whether she is Elsa the princess one moment or Taylor Swift the next all of her wardrobe changes usually land in a pile on the floor. For that reason I decided she needed a staging area to hang those items that she isn't quite done with for the day but that she isn't using in that exact moment. Enter these adorable bird hooks that I found at Hobby Lobby...


I saw these during a last minute Christmas shopping spree and instantly loved them. The vibrant colors make a great statement. I hung them in her little hallway that leads to the bathroom right outside her closet door. They really pop against the white wall and I can see them going the distance. Meaning, they will probably stick around for awhile even after she has outgrown her love of dress-up (not too soon I hope)! They could always be used down the road for hanging purses, hats, belts, etc. Just another desperate effort to help Audrey keep her room neat and tidy. So far, the biggest mess in there is my pile of soon to be DIY projects that we still have in the works. Hopefully, the upcoming three day weekend will help remedy that. Oh, and if anyone has any favorite organizing tips for kid's rooms please send them my way.


Pin It

Tuesday, January 14, 2014

Need a Gift for Your Valentine?

 
I interrupt Audrey's room makeover for a quick Valentine's Day gift idea for those of you who like to get a jump on things or order something special. Going to my cousin's beautiful wedding this past weekend totally brought me back to our own weddng, which reminded me of our amazing honeymoon in Kuaui, Hawaii, which then had me thinking about the gift that I gave Aaron for our eighth anniversary back in October. Hello, vintage map gorgeousness!


I found this print while browsing Etsy and I love the way it looks hanging in our home. The Etsy seller is Southern Slang and from what I understand they can do any location. I framed ours in a rustic frame from HomeGoods and hung it in the hallway just around the corner from our living room.


Now, we can walk by it everyday and go back to that amazing week in paradise. I mean, come on, wouldn't you just love to escape to this place right this very moment?


Pin It

Thursday, January 9, 2014

A Midcentury Desk Makeover

I cannot tell you how long I have been on the look out for the perfect desk for Audrey's bedroom. I was looking for a project piece--something that I could buy cheap and spruce up for her. I spent all last summer visiting multiple thrift stores, antique malls, etc. I was also open to spending a little more on a piece that had already been redone, such as, something you would find in a shabby chic shop. I had come up empty-handed so many times that I was one click away from just ordering her something online.

Then this happened!!!


One day while on Christmas break, I dragged the entire family to some antique shops in a nearby town (Lebanon for those of you who know me locally). We found this at an antique mall called the Peddler's Market. It is one of those places with aisle upon aisle of booths containing pretty much any random thing that you could possibly think of. We went up and down, up and down keeping our eyes peeled for any desk that we could find. I actually can't take credit for this find. Aaron is the one that spotted it first and I knew right away that I loved it. It had the perfect midcentury shape including those amazing tapered legs. Upon seeing it, I was convinced that it would be way out of our price range until a leaned over and saw a $25 pricetag. Cuh-raaaazy!!! I snatched it up before the owner realized that he or she was way underpriced.

The desk was in decent shape but definitely had some wear and tear on the finish. I looked all over for a name of the manufacturer but I couldn't find it. I did find a note on the bottom that said Fairfield Eng. Co. 1967. I am assuming that is the fire department? It was just fun to find out a little bit about the history of the desk. Call me weird, I guess. In addition to the finish issues, Audrey nor I were into the brown. So, it was time to get out the paint and give this bad boy a makeover. What color did we choose...dark blue! I suggested the color on a whim assuming that my girly-girl would almost immediately shoot it down but she didn't. I thought it would be a great color to mix in with the pinks. Think what John and Sherry did for Clara's playroom in their old house.

Since we were dealing with below zero temps here in Ohio, I knew I couldn't spray paint. Plus, I am still scarred by the last time that I spray painted a large piece of furniture. I decided a brush and a foam roller would be the way to go. I had some leftover blue paint from when I did Will's accent wall so I didn't even have to get new paint. The shade is from Sherwin Williams and is called Indigo Batik.

I started by doing a step that I usually skip, which is sanding. Here are a few pictures of that step for you. My goal was to get most of the original stain off but I didn't lose sleep over it.


I didn't prime because the paint had primer built-in and I didn't want to go out into the arctic tundra to pick some up so I thought I would just see what would happen. It worked out better than expected. I started with a super thin coat.


I used a small brush on the drawers and the edges of the desk and I used a foam roller for the top and sides. It took me three coats to get it looking like this. The color is a little different than it looks in Will's room but it could just be the lighting in the basement. Either way, though, I think that shade will look awesome in her room.


I am still debating if I should do a clear coat on top for protection. I just always ruin my finish when I do that so I might see what happens. If it starts chipping, I will touch it up and add the clear coat later.

I am completely smitten with it and Audrey is, too. In her words she "loooooooooves it!" I know it doesn't look the best in my dark, gloomy basement but I couldn't wait to show it to you. And, we wanted to give it several days to dry really well before bringing it up to her room. I am so pumped to see it in her space and style it up pretty for her. That, however, will have to be another day.


Pin It

Tuesday, January 7, 2014

Let's Get This Party Started

I am so excited to have started a new project around here! This time, I am focusing my full attention on Audrey's bedroom. I have definitely been putting this off for awhile so it's about time that I got down to business in there. Fortunately, Audrey hasn't noticed one bit. I mean it's not like she's been asking me why I haven't decorated her room yet. She loves her room, regardless, but my goal is to make it a comfy, personal space that my sweet six-year-old will fall in love with.

Before any decorating could happen, though, I needed to get things organized. It is cuh-razy how much stuff this girl has and even crazier is how quickly it becomes a disorganized mess. I am really doing my best to help her understand that everything has a place and that each night before bed everything should be put back where it came from. Easier said than done, though. Let's take a moment to check out some before pictures to remind you of the lay of the land. It didn't look horrible or anything but we hadn't given much thought to anything in here. We just hung some curtains, threw some things into storage bins, and set up her furniture. I've talked about Audrey's room on the blog here and here, if you are interested in knowing more.


Our first step, was to purge. We really needed to make some room for Audrey's new things that she got for Christmas. She really struggles to part with things so I was proud of her for getting rid of an entire garbage bag of things and her old vanity that she had clearly outgrown. Once we finished that step, it was time to do a little organizing. It all started in her walk-in closet. We took the Ikea shelf out of her closet and put it in the room, which opened things up. We moved her clothes around so everything is hanging in the back and all of her folded things are in the drawers in her bed (see above photo). We also made a spot for her American Girl doll things to the left where the hamper used to be. There are still plenty of random things on the shelves above but it is definitely improved. It probably doesn't look much different in these pictures but, trust me, it is a change for the better.


This picture shows where we put the Ikea shelf. I would love to eventually change the clear bins out for baskets but I hate to spend them money right now. Oh, and this is definitely a sneak peek of some new bedding. Details on that are coming soon!


We put all of her dress-up stuff in her other closet (girl has it good, don't ya think?)

 
Then, we tackled all of her hair accessories. Check out the mess we were up against.


Audrey helped me sort, purge, and put them into her new organizer.


As I was buying this I had flashbacks to my Caboodle days. Anyone else know what I'm talking about? This bad boy worked out perfectly. Here is everything in its proper place. Ahhh, don't you just love when something is freshly organized?


I loved that it stacks but we decided it would make things easier for each layer to be separated in her drawers in the bathroom. We were storing this stuff in her room which was ridiculous considering she had tons of space in the bathroom vanity. It was a duh moment for sure.


Finally, we placed her headband organizer that I had made her awhile ago on the bathroom counter. I think it looks so cute up there. Click here if you would like to see how I made it.


So, in the coming weeks you can expect to see a whole lot more of Audrey's room. Later this week, I'll be back to share an awesome vintage desk that we found for her. I can't wait for you to see it!
Pin It

Thursday, January 2, 2014

Saying Goodbye to 2013

Hello, everyone! I hope that you all had an amazing holiday season and I wish you all a very Happy New Year! I really cannot believe that it is already 2014. I feel like the past couple months and the holiday season in general came and went in the blink of an eye. I thought I would stop by to share a few of our special holiday moments with you as we say goodbye to another wonderful year. It was truly a memorable one as we moved into our dream home, started new jobs, and celebrated another year of wonderful milestones with our little ones. We are so thankful for all of it and we are so excited to see all that lies ahead.

I'm definitely doing a little backtracking here. This is compilation of a couple different posts I never got to over break starting with how we decorated for the holidays. We kept the holiday decor rather simple for our first Christmas in the new house. We stuck with our tradition of getting a real tree. I once again lost the debate of white vs. colored lights with Aaron and Audrey. Oh well, maybe next year I will convince them that white is the way to go.


I did, however, make a fun little garland for the mantle out of some white snowflake lights that I found on clearance at Target along with some fabric scraps. I love it so much that it will probably be considered "winter" decor instead of just Christmas decor so I can keep it around for a few more weeks.


A few simple changes to the entryway table helped complete our holiday look. I told you it was simple!


For our gifts this year I used my absolute favorite polka-dot craft paper from Target, some black plaid paper from Marshalls, and red and white chevron from Hobby Lobby. We topped our gifts off this year with either green pom-pom garland, simple strings of yarn,  or giant poms that we made ourselves.


Now, sit back, and enjoy some of our favorite pictures of Audrey and Will. They really do make the holidays so exciting. I love the joy they bring to our lives.


Aren't they the sweetest? I know I have to say that but they really are the most amazing people. Doesn't Audrey look so grown up? And, Will has been seriously cracking up with his animated conversations. It was a truly special Christmas and I hope you and your family made just as many wonderful memories.
 
As for the new year, I have a list of goals (dare I say resolutions) a mile long. One of those goals is to rededicate myself to unfinished projects around the house and to the blog, of course. I do love writing and sharing and I want to get back to doing that more consistently. How about you? What are some of your favorite holiday memories? And, what are some of your goals for 2014?
 
 
Pin It
Related Posts Plugin for WordPress, Blogger...