
It has been a lazy Saturday here in our little corner of the world. With fresh snow on the ground and a sick baby, I knew that we wouldn't be venturing out. I decided I might as well attempt to create something out of one of my thrift shop spoils from the YHL Thrift Shop Challenge. If you haven't seen my post on that, you can find it here. One of my finds was this lovely group of men's ties.

I picked them up not knowing exactly what I would do with them. Just like any other time when I'm looking for a DIY project to try, I hit up Pinterest for a little inspiration. I immediately found some amazing ideas for turning men's neckties into jewelry. I ultimately decided to get my craft on and make one (or two) of these bad boys. Thank you Linda Eve for the perfect tutorial.
I chose to use these ties that I picked up for 75 cents each. I decided to use the gray tie for myself and and pink tie for my daughter, Audrey. I will share my steps but the above tutorial is definitely a little more detailed.

Audrey was helping me document...

I started by measuring the skinny end of the tie around our wrists to get the right size. Then, I simply cut it off.

The next step is to take an empty plastic, yogurt container and cut a strip out of it to go inside of the tie. It slid right in.


Then you fold over the fabric on the end and hand stitch it in place. Let me just say that hand-sewing is not my strength. The tutorial talked about a blind stitch and I had no idea what that was. I just did my best and rolled with it. I don't think I'll quit my day job anytime soon to become a full-time seamstress.

I was definitely in deep concentration when I was sewing. Audrey thought it was a good time to capture another picture of me. She was cracking me up!
Side note: Another thing that had me laughing was that while I was sewing this one, my hubby came in and was concerned that I was using one of his ties. I said, "Do you really think you would own a pink tie?" He said, "I don't see why not. I would call that more salmon than pink, anyways." Say what? Wow, you think you know a person after thirteen years and something like that falls out of his mouth. Too funny!

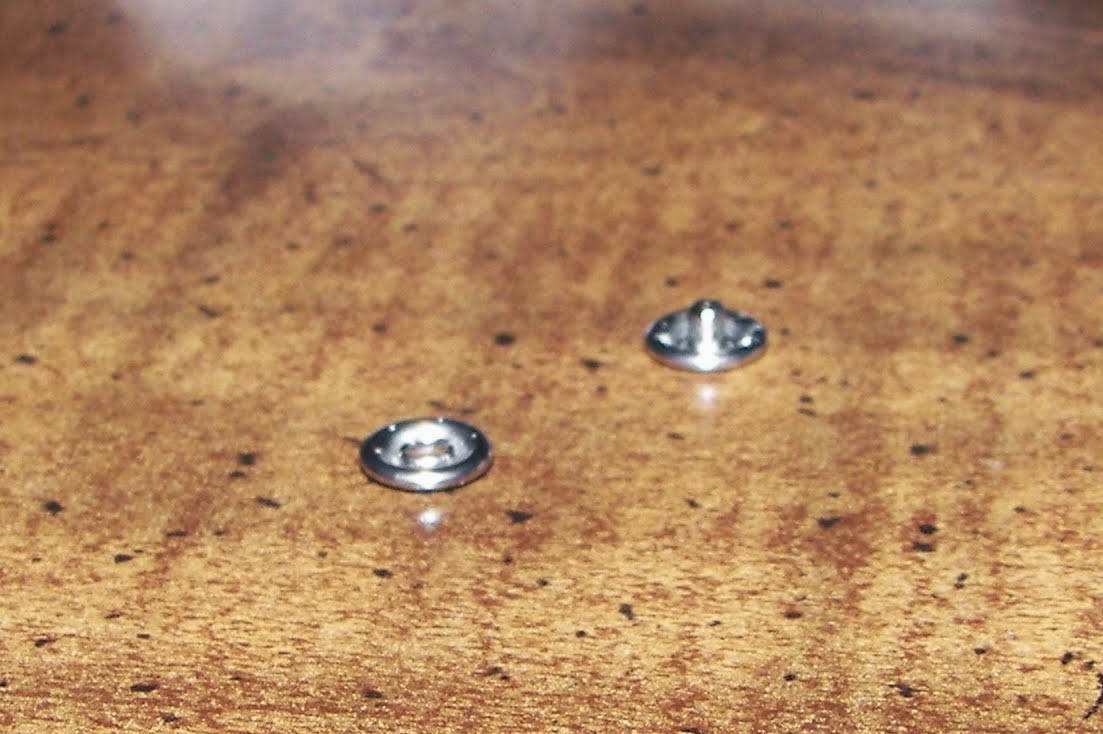
It was then time to add snaps. Unfortunately, I didn't have any sew-in snaps on hand. I came up with this plan to use snaps from one of Will's onesies that he had outgrown and glue them on with craft glue. It worked but I'm not sure the snaps will stay in place with repeated use. I will probably still pick up some to sew in the next time that I'm out.
Last but not least, I sewed on a couple of decorative buttons and started snapping pics of our finished bracelets.


I have a couple more plans for my thrift store ties and will be back to share those in the near future. Have any of you made over something that you found at a thrift store? Have you ever attempted to refashion something into a whole new piece with a whole new function? Thanks for stopping by!
Pin It
These are so fun, Elizabeth!
ReplyDeleteThanks, Liz!
ReplyDelete